Introduction
This post is about creating a Raspberry Pi database server.
What do you need?
- Raspberry Pi 4 Kit
- A spare USB attachable mouse
- A spare USB attachable keyboard
- A monitor that allows HDMI input
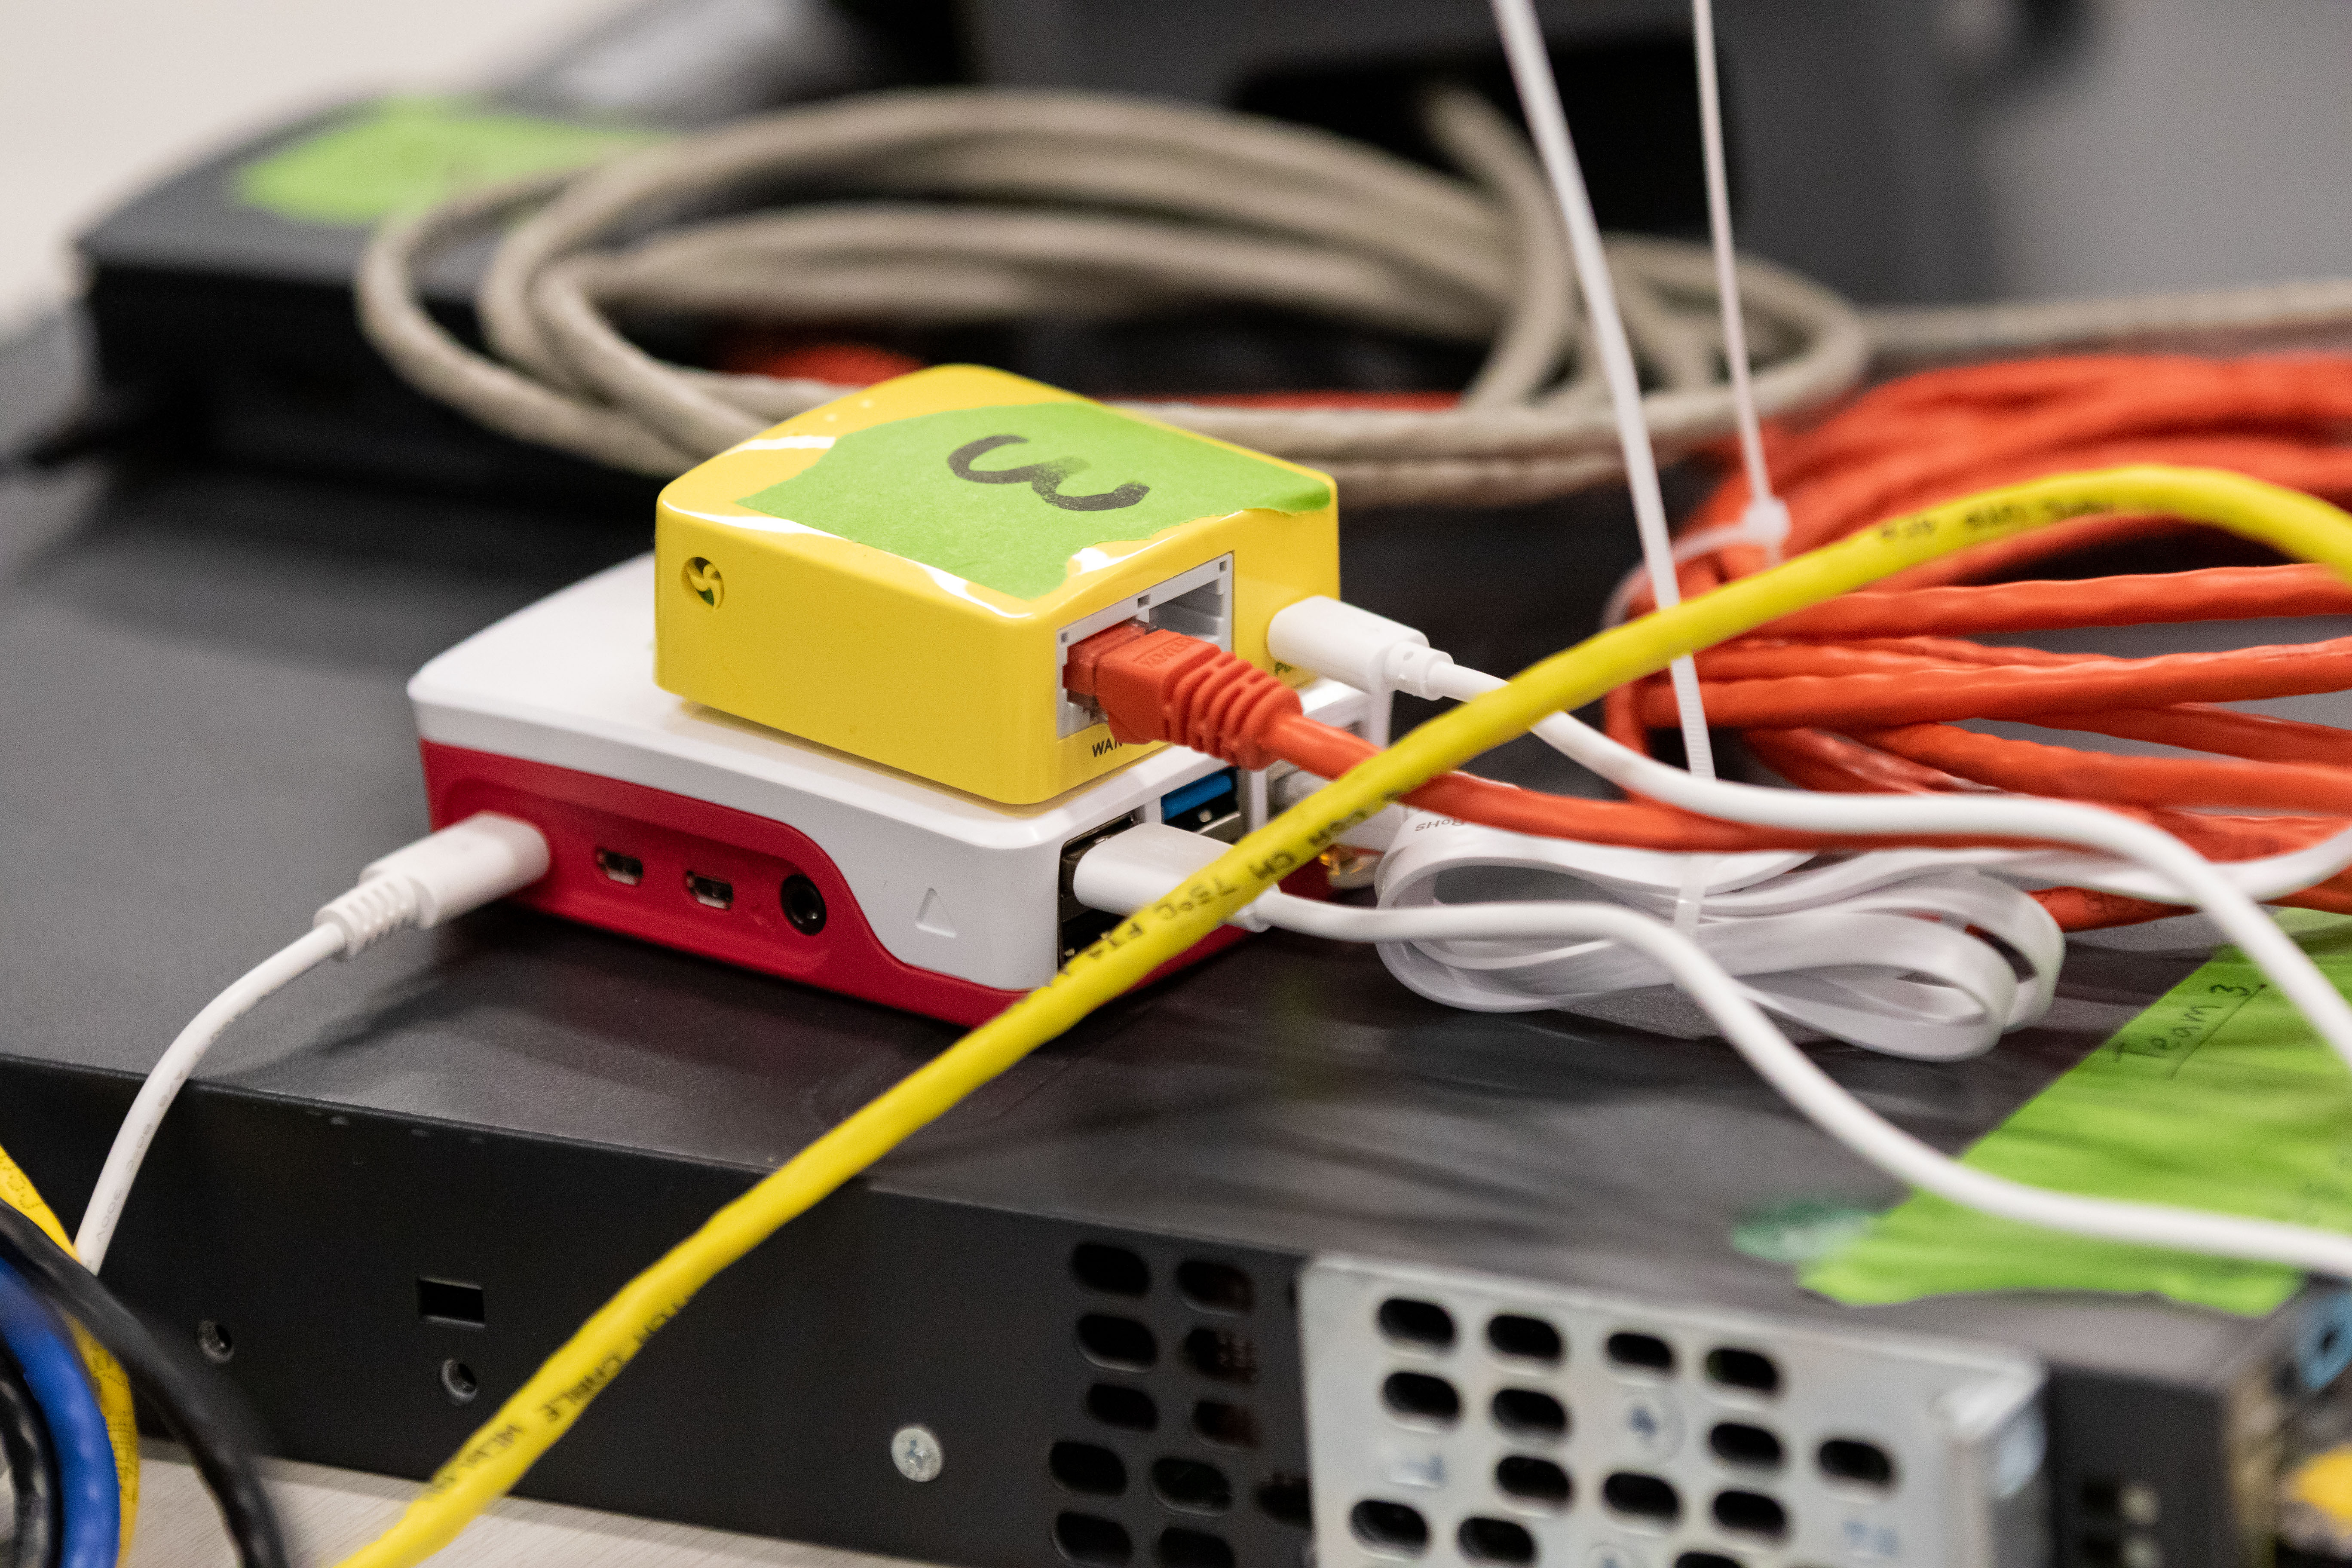
1. Build the Pi
You can follow the instructions that came with your Pi, or you can watch this video.
2. Flash the SD card
- Plug the SD card into a computer
- Download the Raspberry Pi OS Installer.
- Watch a video tutorial here
- I kept all of the default options when flashing my SD card.
3. Set up the Pi
You will need:
- A spare USB attachable mouse
- A spare USB attachable keyboard
- A monitor that allows HDMI input
Steps
- Insert the SD card into the PI
- Plug in the Pi’s HDMI port into a monitor
- Plug USB keyboard and USB mouse into the two USB ports on the Pi.
- Turn on monitor
- Choose your username and password
- Select US English language and US keyboard layout; or your language and keyboard layout of choice.
- Click next
🌸👋🏻 Join 10,000+ followers! Let’s take this to your inbox. You’ll receive occasional emails about whatever’s on my mind—offensive security, open source, academics, boats, software freedom, you get the idea.
4. Network configuration
Note for RIT folks: Please note that this tutorial is using RIT’s legacy network. In May 2022, RIT will be using a new network. Thus, you may need to repeat this process after RIT sets up the new network. If you are not on RIT’s network or are following this tutorial after June 2022, you can disregard this note.
- Once you reach the network configuration stage, press Control + alt + t to open the terminal.
- On the terminal type ifconfig to get the MAC and IP address.
- If you are using WiFi, take note of the wlan0 IP and MAC addresses. If you are using ethernet, take note of the eth0 IP and MAC addresses.
- Steps for RIT students only
- On a separate device not connected to the PI. Navigate to https://start.rit.edu/, and select “Computers” → “Advanced Registration” → type in MAC or IP address. From there, select “New registration,” and type in a name for your device like “happyserver.student.rit.edu.” Then, select the linux desktop checkbox and click “Register.”
- If you cannot find the proper network on the PI or are assigned the wrong IP address, shutdown the Pi for 30 minutes. It takes around thirty minutes for the Raspberry Pi to clear the network cache. Then, power on the Pi. You will know if the IP address is assigned if you can ping the address or network name or IP address you assigned to it.
- ping myserver.student.rit.edu or ping 123.1.2.3
- Finish the setup on the PI monitor
- Restart the PI
5. Connect to server via SSH
Once the IP address has been assigned. SSH into the server by opening a terminal on a device not connected to the Raspberry Pi
ssh johndoeserver.student.rit.edu6. Install server tools
# install mariadb
sudo apt install mariadb-server

# configure mysql security
sudo mysql_secure_installation
If prompted, disallow anonymous users, remove test databases, and disallow remote root login.
# install apache2
sudo apt install apache2

# start apache2
sudo service apache2 start

# install phpmyadmin
sudo apt install phpmyadmin
Once you get to the web server step, press space to select “apache2,” and select “Ok.” This will install apache2. Then, if prompted for TCP/IP or Unix Socket, select “Unix Socket.” Keep defaults for everything else.
Set up your phpmyadmin account. You will be prompted during installation.
# install php
sudo apt install php

# restart apache2
sudo service apache2 restart
7. Set up the database on the server
- Download your database. In this case, I used a book database file on GitHub. This database file was for Group 2’s SWEN 261 (Kiser) project in Spring of 2022.
- Open a browser, and login to your server (see link below)
- Navigate to import (see image below)
- Import the database
# server link
servername.student.rit.edu/phpmyadmin
8. Connect to the server
Open a terminal and connect to the server in this format:
# general format
mysql -h servername.student.rit.edu -u username -ppassword
mysql -h servername.student.rit.edu -u oliviagallucci -padminNote: do not leave a space between the “p” and the password.
Conclusion
If you enjoyed this post about building a Raspberry Pi database server, check out my other SWEN-261 articles.


You must be logged in to post a comment.